My AI studies
I believe AI is a fundamental component when creating fun and immersive experiences for players.
This is why, during my time at FutureGames, I invested a significant amount of time working on AI design and implementation.
I worked on a variety of projects in Unreal Engine 5 and Unity, implementing various AI behaviours and designs.

THE SIMS PROTOTYPE
(Unreal Engine 5)
AI Description
This prototype was inspired by The Sims game, mostly for the way they manage needs and objects.
To implement this AI and systems, I wanted to challenge myself so I didn't use Unreal built-in systems and I came up with my own solution.
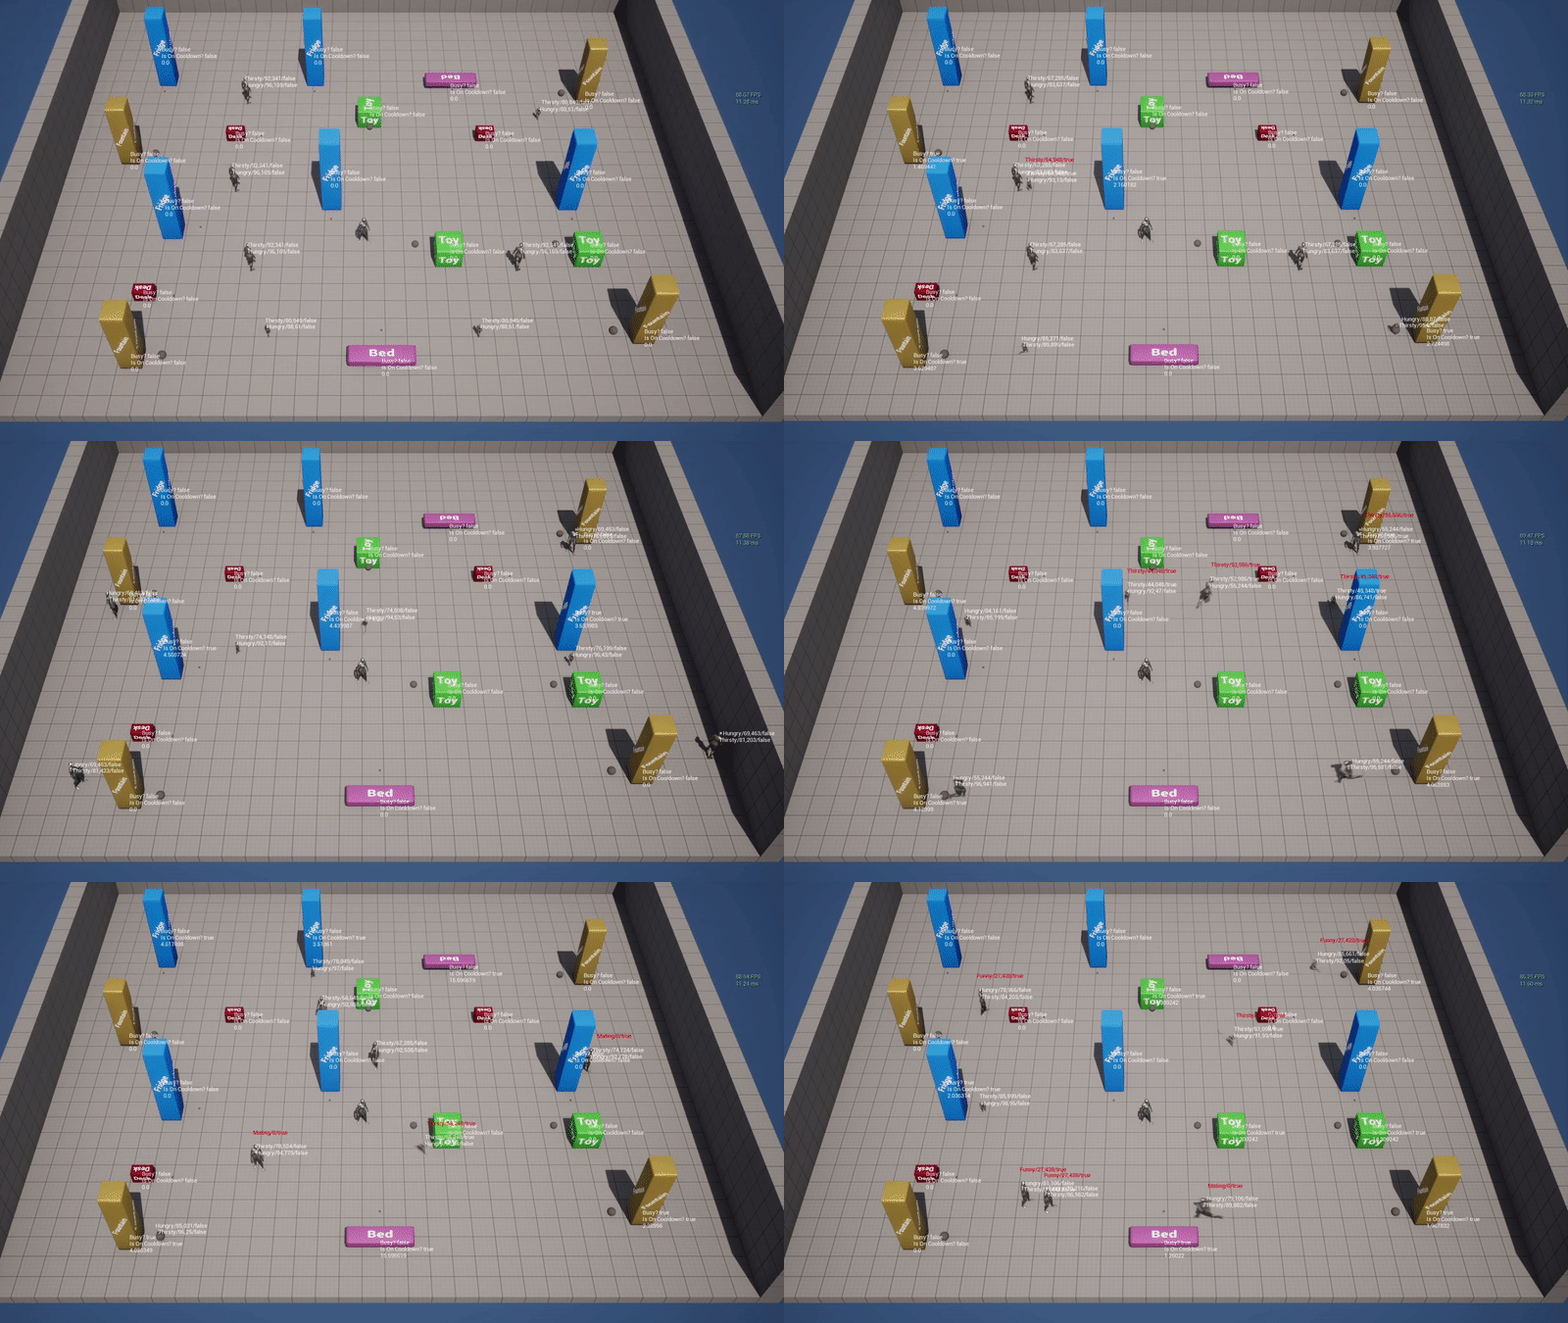
I use two main elements to make it work: Needs and Objects.
A Need can be of different types (Hungry, Thirsty, Fun, etc.), decays with time and has a trigger threshold.
An Object is an interactable object that satisfies a need.
The Needs system
Starting from the Needs, of which you can read the implementation on the right, I then created a Need Component.
The Need Component is the one responsible for most of the “heavy” work when prioritizing the needs and taking decisions.
It has 1 array of Needs that contains all the needs and 3 buckets that contain the
needs based on their importance.
I made this element modular, meaning it’s easy for designers to add more needs or create different Need Components (like Adult Need Component, Baby Need Component, etc.).
It has different functions like Sort Needs, Find Most Important Triggered Need, Find Type in Needs.
Below is the event graph of the Need Component where the Decay Need method is called and where the Event Refill This Type is implemented.
The Objects system

The objects are made in a modular way too, giving the possibility to set the amount of need they refill, the type of need they refill and a cooldown time.
I created an Object Manager which is the element responsible for keeping
track of all the objects in the world. It also provides relevant info, such as object availability, to the AI.
It has 1 array that contains all the objects in the world and 1 map that contains the number of free objects, categorized by type.
It has different functions that are used by the AI and other elements in the prototype, like Busy Objects, Set Object Busy, Set Object Free, Get Free Objects, Find Closest Object.
Below is the implementation of the Find Closest Object function, used to find the closest object (to the AI calling the method) that is not busy, is not on cooldown and satisfies the specific need type.
AI Behaviour

References
Below is the main material I studied to produce the prototype showcased:
SNEAKY PROTOTYPE
(Unreal Engine 5)
AI Description
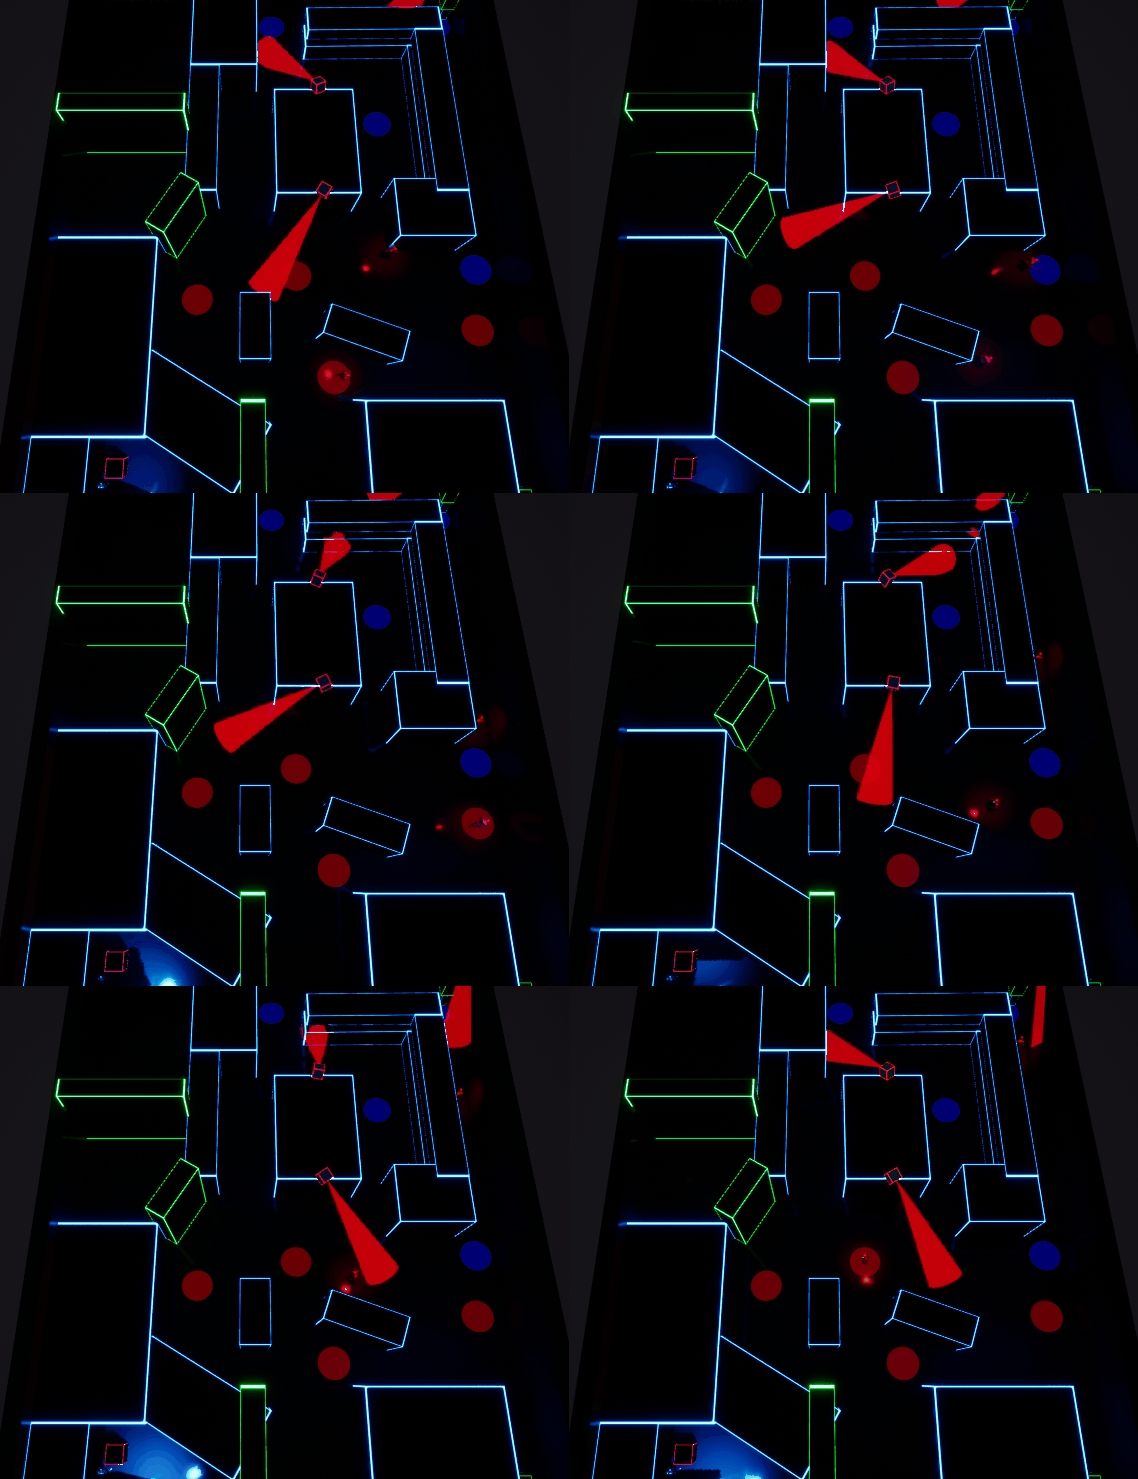
This prototype was inspired by Metal Gear Solid: Special Missions, and it included similar mechanics like patrolling AI and CCTV.
To implement this AI and systems, I used various Unreal elements such as the AI Perception Component, Behaviour Tree and Blackboard.
AI Behaviour
Patrol fixed points
Player
spotted?
No
Player
caught?
No
Restart
level
Yes
AI goes to last known player location
AI
AI chases
player
Spotted by AI or CCTV?
Yes
CCTV
AI Implementation

The behaviour tree implements the AI behaviour shown above.
I used a Blackboard and its keys to set up the various conditions in the tree.
I used the AI perception tool in conjunction with Sight Sense. This made it simple for me to connect to the CCTV system.
I then used that method to connect the Sight Sense with the Blackboard.
CCTV Implementation
The CCTV Camera detects the player and communicates the last player's known position to the AI. I used two main elements to accomplish this:
-
Overlap Sphere
-
Cone
The Cone is used to detect the player. If an object crosses the red cone, the blueprint determines whether it is the player and, if so, it communicates the position to the AI.
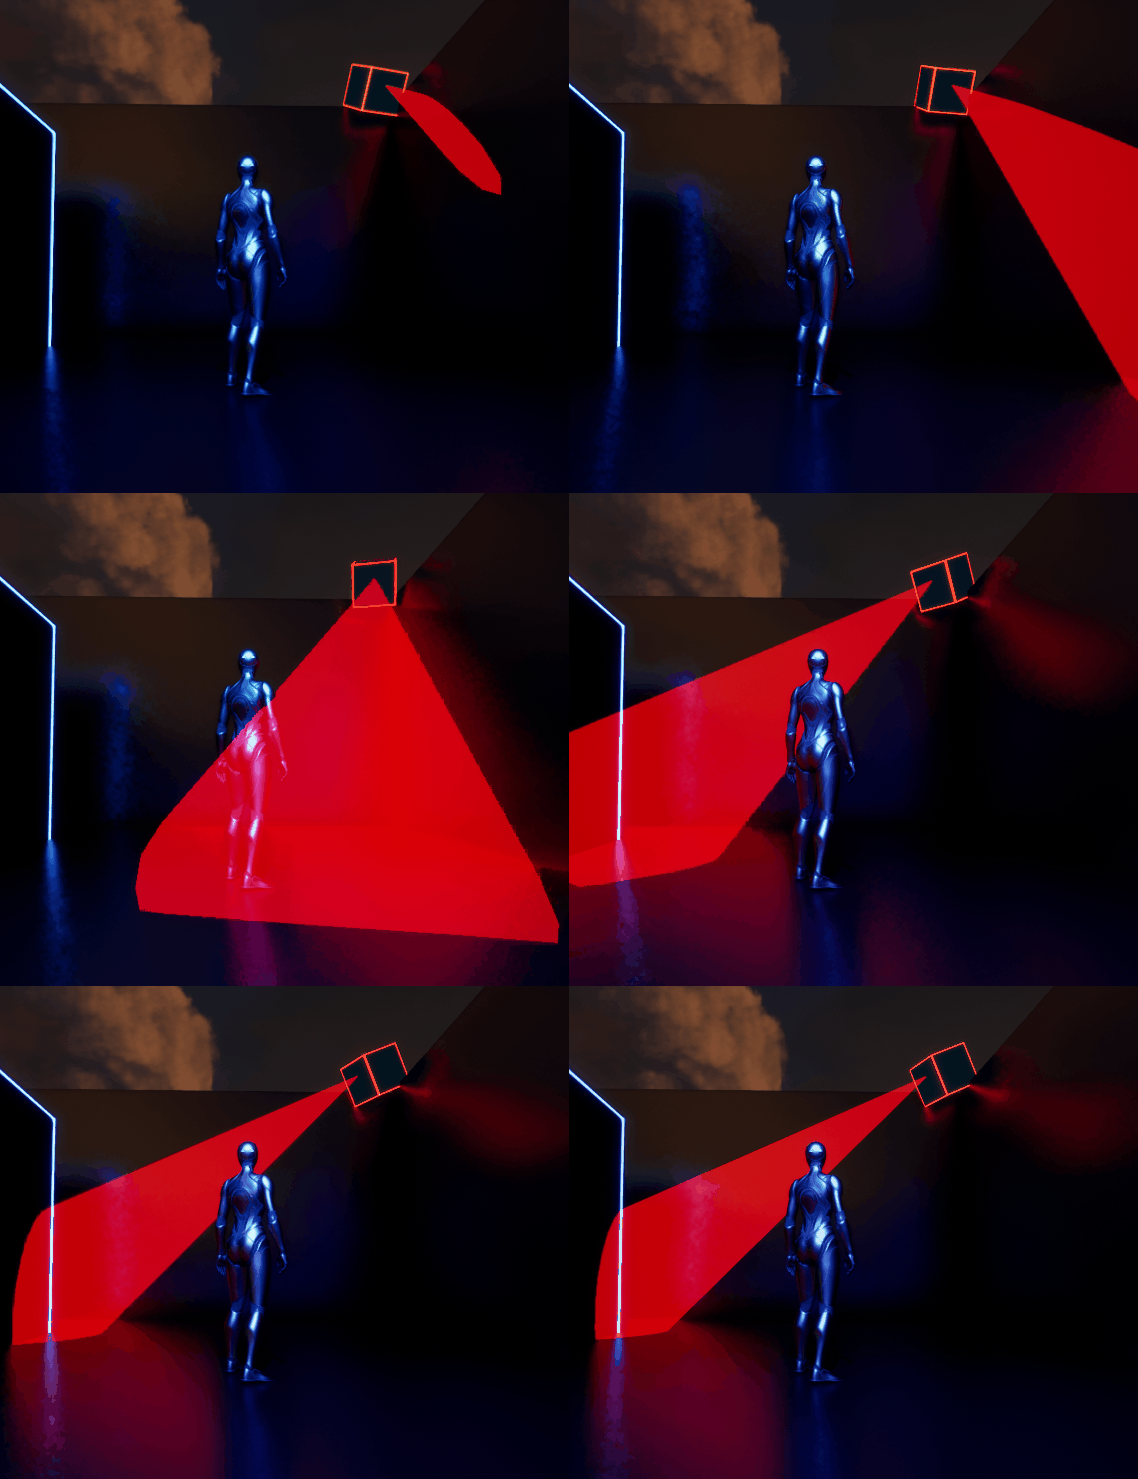
The Overlap Sphere is used to determine to which AI the CCTV camera should communicate the player's last known position. I did this to avoid a camera delivering the message to a distant AI.

SHOOTING PROTOTYPE
(Unity)
AI Description
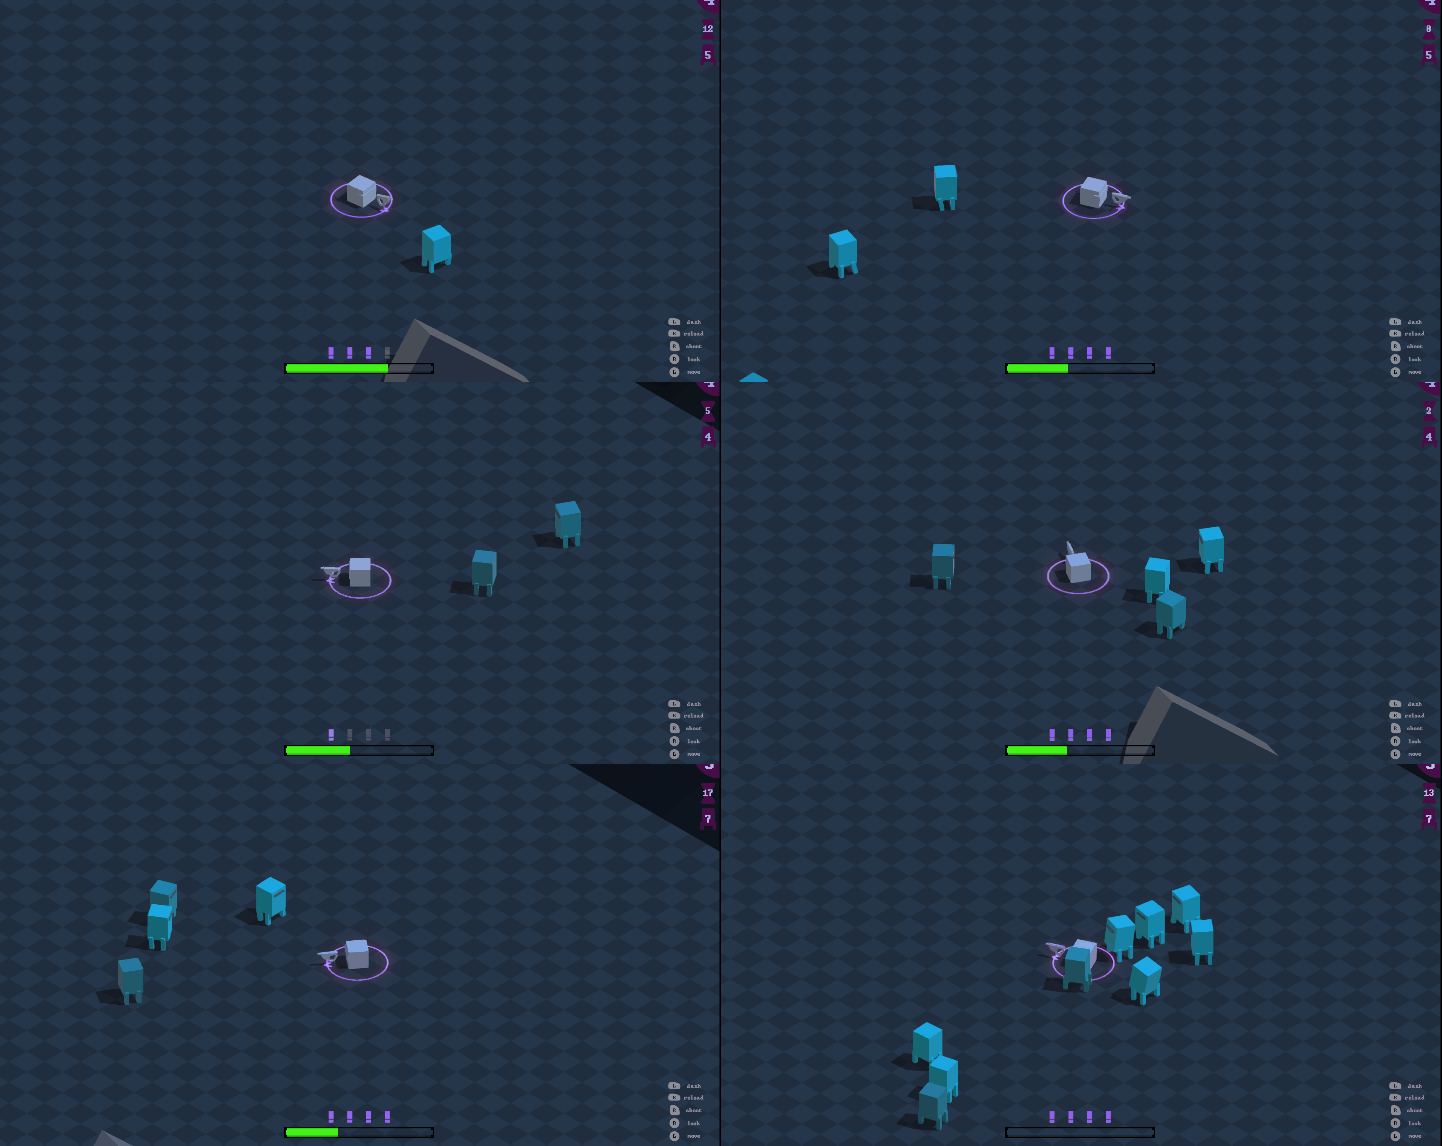
I used the NavMesh method in Unity to implement this AI.
I wrote a script that implements the AI behaviour and changes the AI's colour based on its health.
AI Behaviour
Chase
player
Player
reached?
No
Yes
Go away from player
Attack
player
AI Script


The above-mentioned behaviour is implemented by this script.
I used a CheckSphere to see if the player was in range.
I then set a cooldown for the AI attack to prevent it from attacking repeatedly.
Also, whenever the AI tries to attack and executes the animation, it moves away from the player with a fixed offset.
The AI also has a pushback effect, which causes it to stop for a second when it gets hit by the player's projectile(s). To achieve this, I disable the NavMesh agent and use the RigidBody to apply the effect desired. I then re-enable the agent.
Lastly, I created a method that changes the AI's colour gradient based on its health, becoming greyer as the health declines.
STEALTH PROTOTYPE
(Unity)
AI Description
I used the NavMesh method to implement this AI.
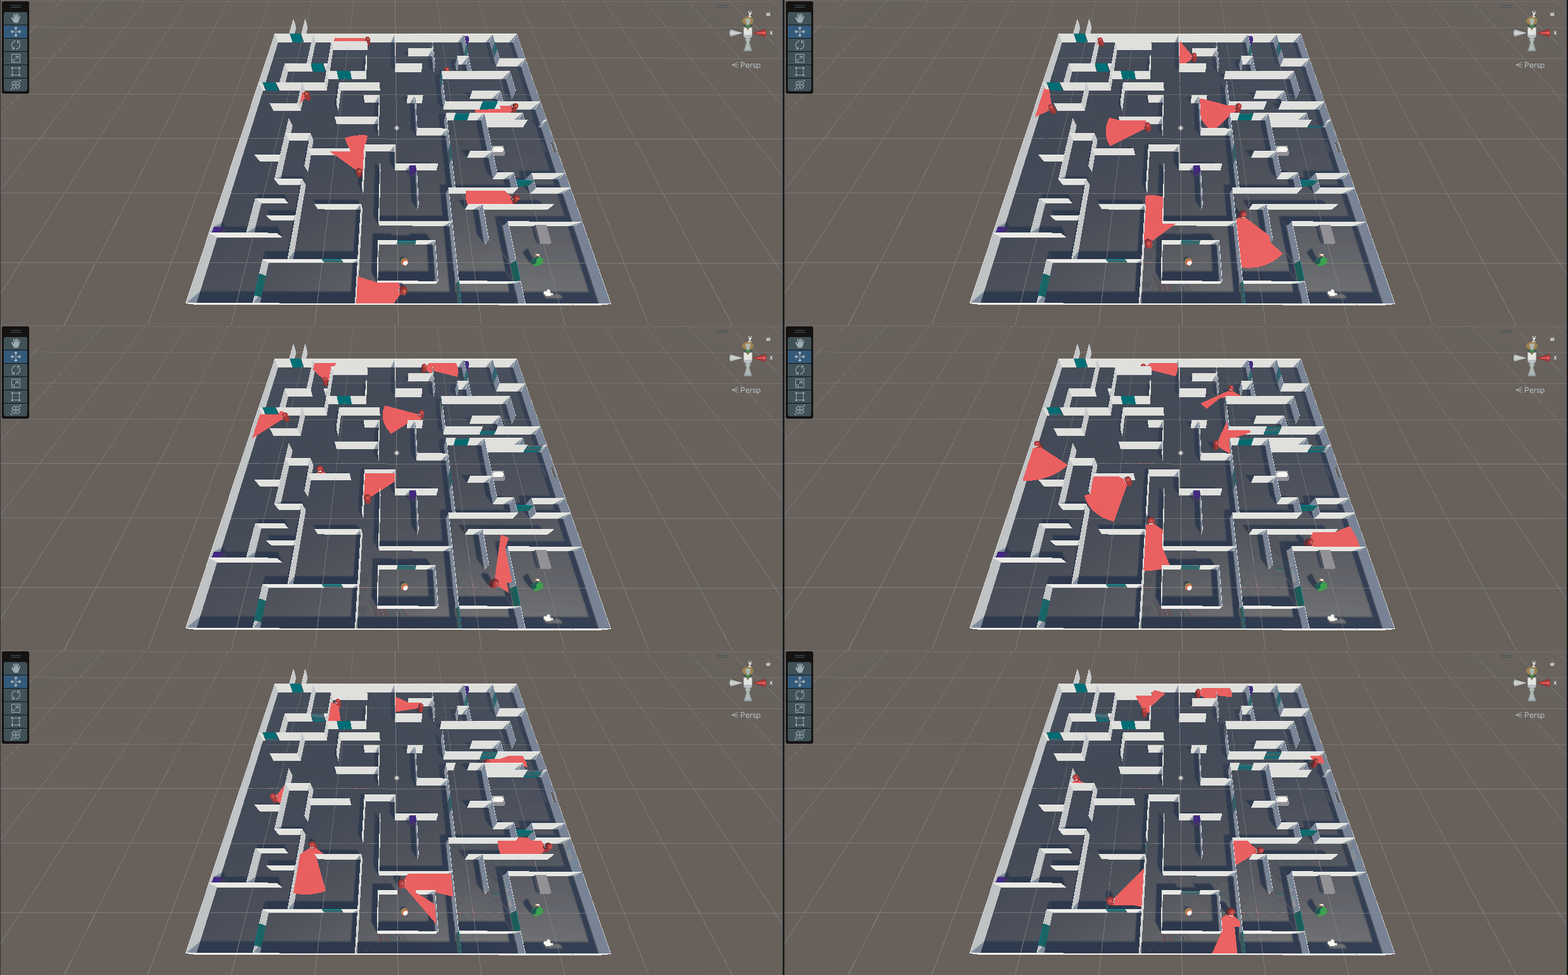
I wrote a script to implement the AI behaviour and visualize the cone of view.
AI Behaviour
No
Patrol fixed points
Player
spotted?
No
Yes
Chase
player
Player
caught?
Restart
level
Yes
AI Script
The script implements the behaviour shown above.
I used an OverlapSphere to see if the player was in range.
I exposed various variables to change the movement of the various agents based
on their patrolling area.
Since the player in the game has the option of becoming invisible at certain points, I added a simple check that makes the player "invisible" to the AI.